Reports (BIP) – Implementing Digital Signature in PDF BIP reports
Oracle Fusion reports and analytics provides the capability of implementing digital signatures with in BIP. However there are some limitations:
- Only one digital signature can be used across all reports.
- For a report with multiple templates, the same signature will be applicable for all the templates.
- Digital signature can be tested only using the BIP scheduler.
Follow the below steps to implement digital signatures:
- Get your pfx file (digital signature file). Fusion currently supports pfx and p12 extensions only.
- Login to reports and analytics using below url:
https://xxyxxmz.ea2.oraclecloud.com/xmlpserver
3. Navigate to Administration -> System Maintenance -> Upload Center
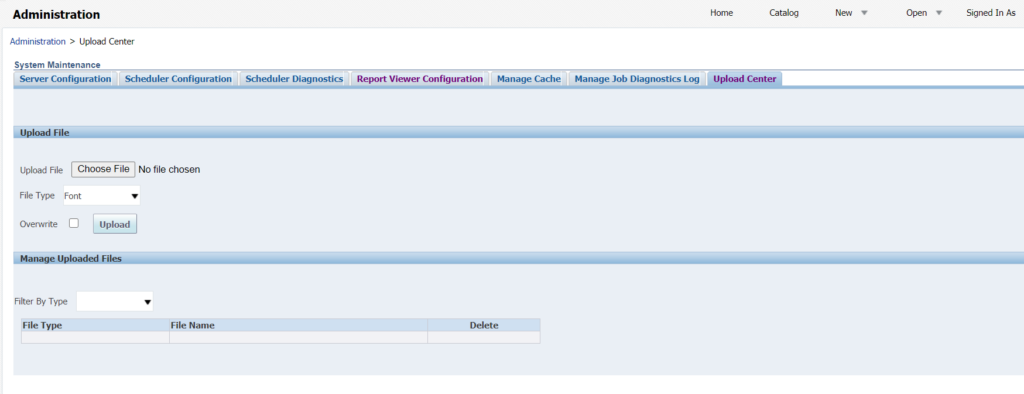
4. Choose the signature file under Upload File and choose the File Type as ‘Digital Signature’ and click on ‘Upload’ button:

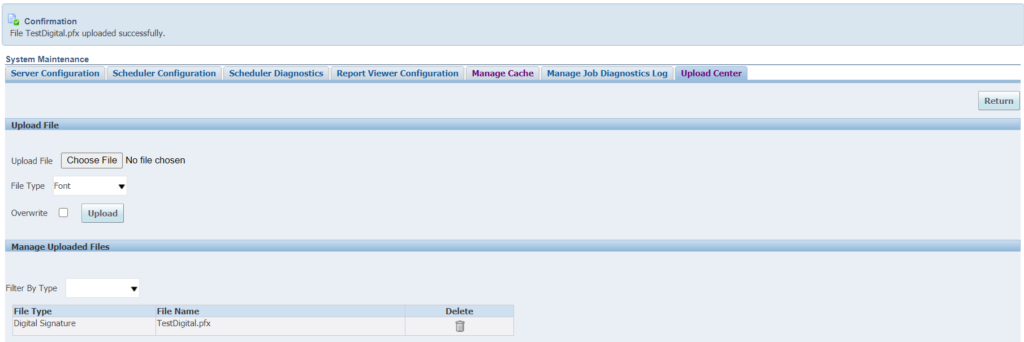
5. Click on Return and Navigate to Security Center -> Digital Signature
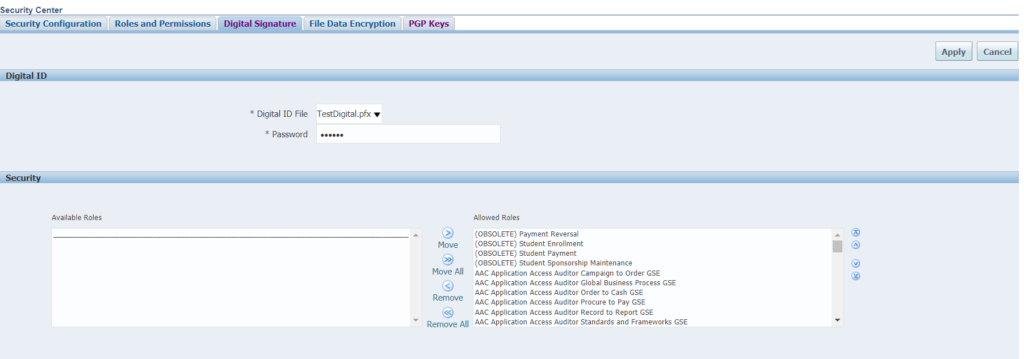
Choose the *Digital ID File and provide the value * Password and choose the roles required and click on Apply button:
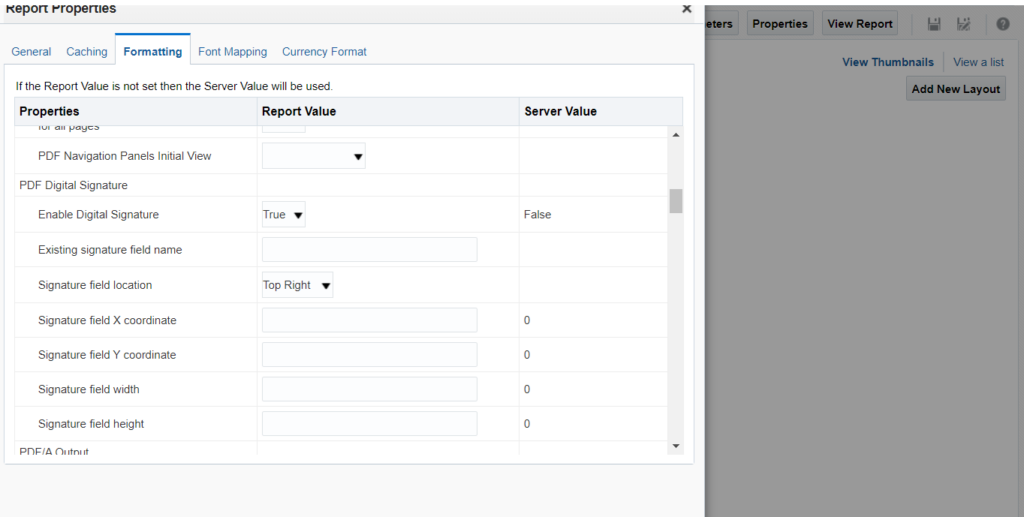
6. Go to the report properties -> Formatting and choose the value ‘True’ for Enable Digital Signature attribute. Choose the other values as required:
7. Click ‘Ok’ and save the changes.
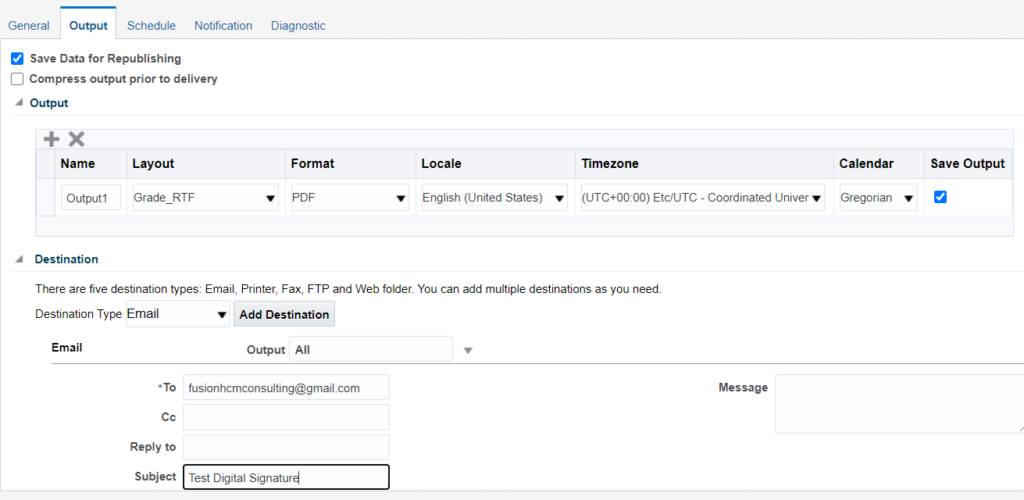
8. Schedule the report to test the digital signature:
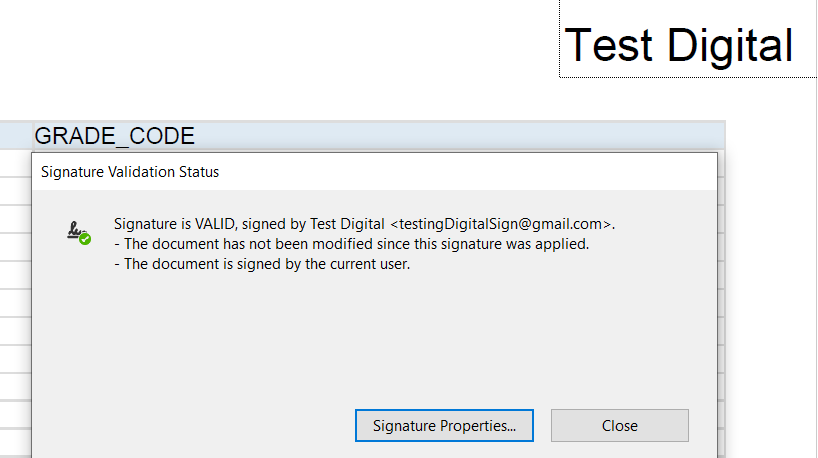
9. Open the received output and verify the digital signature: