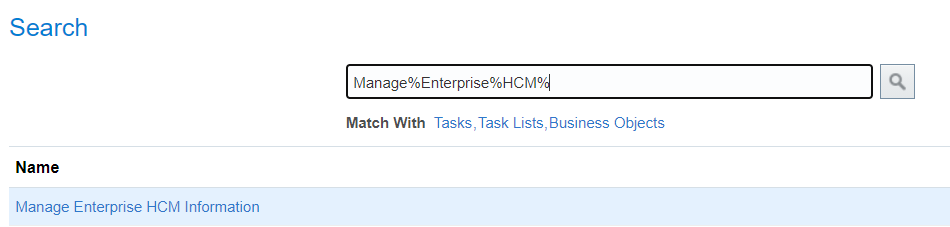
HDL – Sample file to delete element eligibility
HDL supports deletion of element eligibilities. You can make use of PayrollElementDefinition business object. Child object ElementEligibility supports create, update and delete operations.
You can create a simple BIP query to extract the requisite data and create an HDL file out of it:
select pelf.element_link_id
      ,petf.element_type_id
      ,petf.base_element_name
      ,pelf.effective_start_date
  from pay_element_types_f petf
     , pay_element_links_f pelf
 where petf.element_type_id = pelf.element_type_id
   and element_link_id=300000175215375
   and TRUNC(sysdate) BETWEEN petf.effective_start_date and petf.effective_end_date
Sample HDL file:
METADATA|ElementEligibility|ElementLinkId|ElementId|EffectiveStartDate
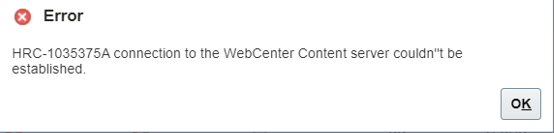
DELETE|ElementEligibility|300000175215375|300000175200627|1951/01/01Sometime you may get an error that You can’t delete element eligibility as element entries exist for this eligibility. In this case first you need to identify the corresponding element entries and Delete those and then retry deleting element eligibility.
Please check mos note – When Attempting to Delete Element Eligibility Get Error ‘The element eligibility record can’t be deleted because it would invalidate existing element entries with effective start dates in the future. (PAY-1635756)’ (Doc ID 2686914.1) for sample query and sample file for element entry deletion.
Version Validated : 21C