wlif.LEARNING_ITEM_ID = wlift.LEARNING_ITEM_ID AND wlift.language = ‘US’ AND wlif.LEARNING_ITEM_TYPE = ‘ORA_COURSE’ AND TRUNC(SYSDATE) BETWEEN wlif.effective_start_date and wlif.effective_end_date AND wlif.effective_start_date BETWEEN wlift.effective_start_date and wlift.effective_end_date
HOCF.ORGANIZATION_ID = HOUT.ORGANIZATION_ID AND TRUNC(SYSDATE) BETWEEN HOCF.EFFECTIVE_START_DATE AND HOCF.EFFECTIVE_END_DATE AND HOCF.EFFECTIVE_START_DATE BETWEEN HOUT.EFFECTIVE_START_DATE AND HOUT.EFFECTIVE_END_DATE AND HOUT.LANGUAGE = USERENV(‘LANG’) AND HOCF.CATEGORY_CODE = ‘DEPARTMENT’
There is a common requirement to default the value of DFF attributes on a UI page. For example, we want to default a defined attribute of ‘PER_PERSONS_DFF’ DFF based on person_id. For this we will need to pass the parameter as :{parameter.parameter_name} in table validated value set. To know the list of all parameters supported for ‘PER_PERSONS_DFF’, we can utilize either of below mentioned methods:
From UI:
Navigate to Setup and Maintenance -> Search -> Manage Descriptive Flexfields-> PER_PERSONS_DFF -> Search
Click on edit icon and search for Derivation value field under ‘Context Segment’:
You don’t see any derivation value here which means ‘PER_PERSONS_DFF’ doesn’t support any parameters.
You can check the same for any other DFF and check the list of parameters. Below is a screen shot from ‘PER_POSITIONS_DFF’ dff which shows the supported parameter list.
2. From Backend:
Run the below SQL from reports and analytics and verify the results:
select * from FND_DF_PARAMETERS where DESCRIPTIVE_FLEXFIELD_CODE = ‘PER_POSITIONS_DFF’
There is a common requirement to implement Single Sign On (SSO) with fusion HCM.
First, let’s try to understand some basic concepts of SSO:
IDP – Identity provider : The identity provider verifies the user credentials and sends the authorization and authentication response back to the service provider. For example, Microsoft AD.
SP – Service Provide : Oracle Application Cloud (Fusion HCM) which is setup as a service provider, sends a verification request to the user’s identity provider.
Users will be registered with identity providers i.e. Microsoft AD in this case who store and manage identity and credentials. In Security Console, we can add those identity providers so that we can verify those users .
Oracle Applications Cloud, which is set up as a service provider, sends a verification request to the user’s identity provider who’s already added to the Security Console.
The identity provider verifies the user credentials and sends the authorization and authentication response back to the service provider.
After successful authentication, users are granted access to the required application or web page.
Configuration Steps with Microsoft AD:
To configure Oracle Applications Cloud as the service provider, you must do the following in Oracle Cloud and some steps in Microsoft AD:
1) Microsoft AD – In Azure AD, download the Azure AD SAML metadata document.
2) Oracle Applications – Add an identity provider , upload the metadata document provided by IDP is Step 1
3) Oracle Applications – Download the federation metadata document.
4) Microsoft AD – Upload the federation metadata document provided by oracle in Step 3 .
Sometimes while loading the worker assignments or assigning an employee to a new position, you get “The Selected Position Has No Open headcount. Select A Different Position To Continue” error, one resolution to this is to disable the Position Incumbent Validation at enterprise level.
Follow the below steps to disable the position validation:
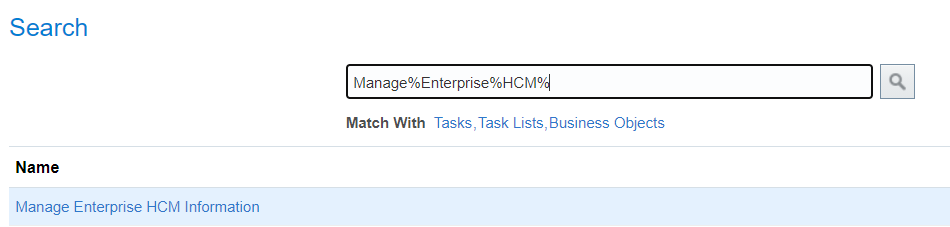
Navigate to Setup and Maintenance -> Search -> Manage Enterprise HCM Information:
2. Search for Position Incumbent Validation on Enterprise screen. If not found, then follow the steps 3 – 8, else move directly to step 9.
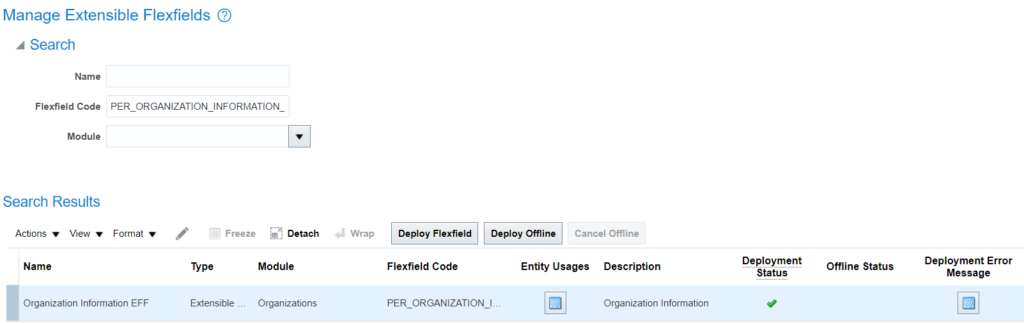
3. If Position Incumbent Validation is not available on enterprise screen, search for ‘Manage Extensible Flexfields’ and search for ‘PER_ORGANIZATION_INFORMATION_EFF’:
4. Click on edit icon:
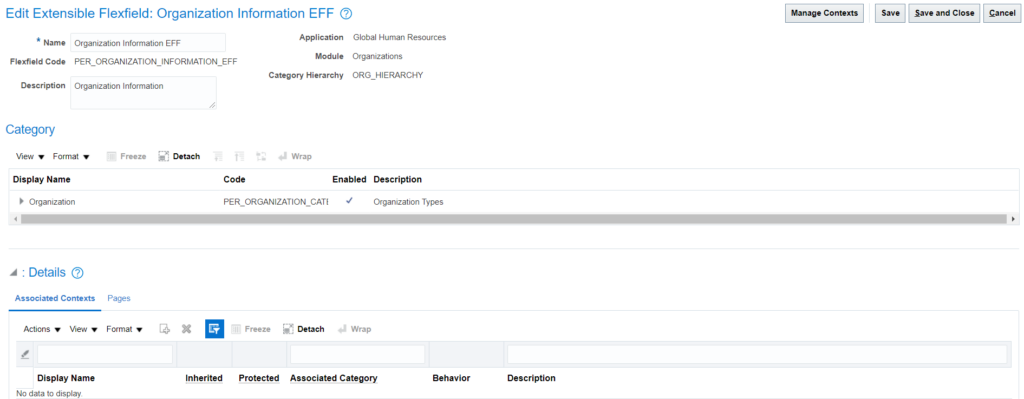
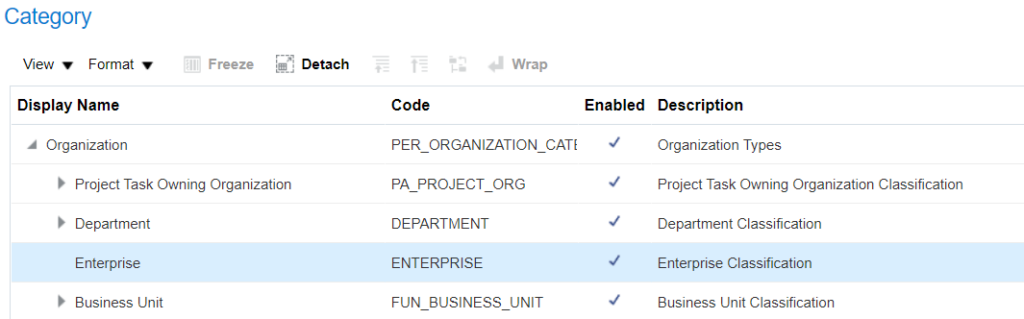
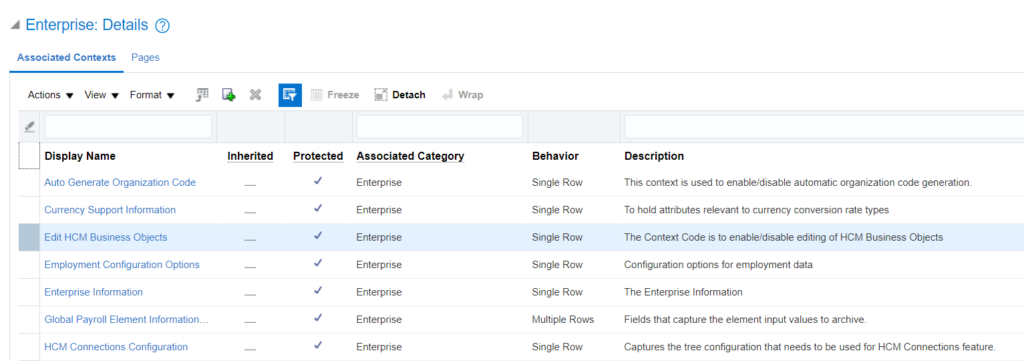
5. Under Category, expand Category and choose Enterprise and scroll down:
6. Click on Pages under ‘Enterprise Details’:
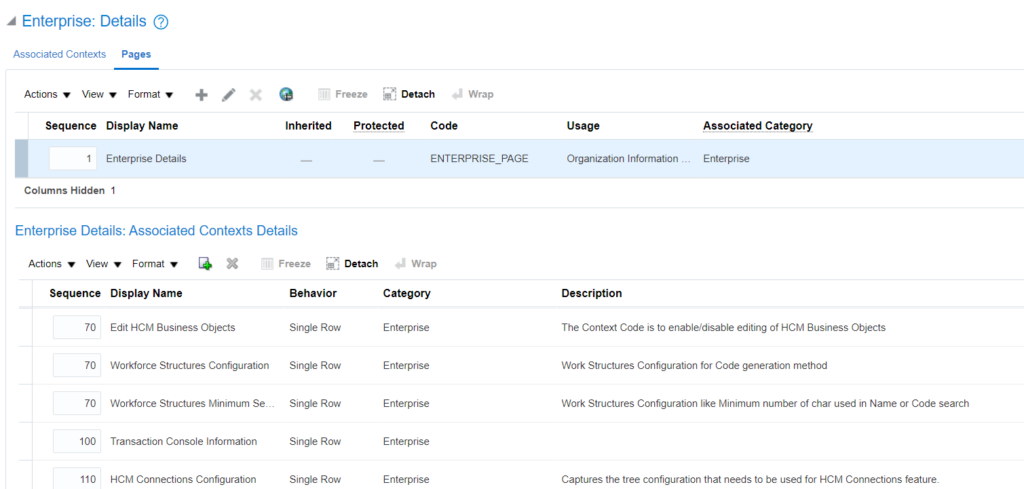
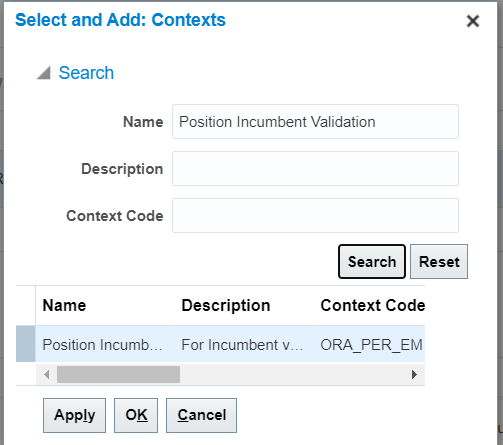
7. Click on add icon under ‘Enterprise Details: Associated Context Details’ and select & add ‘Position Incumbent Validation’ context:
8. A new context will be added:
Click on Save and Close and Deploy the flexfield.
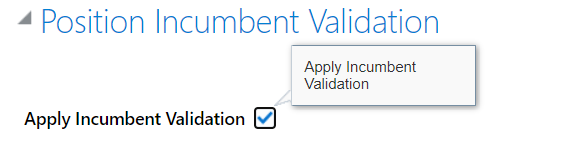
9. On successful deployment of flexfield, go back to ‘Manage Enterprise HCM Information’ task and search for ‘Position Incumbent Validation’:
10. Click on Edit button in Correction mode and check the checkbox and save the record: